In a recent class, we were focusing on external referencing. We discussed ways that external referencing improves the workflow and the file size, and when to use Attachment and when to use Overlay.
As an external reference we can reference another DWG. We can also reference images and PDFs.
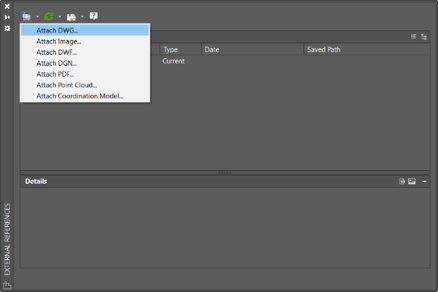
The External Reference dialogue box will indicate the current external references.
During this particular training session, one member of the class raised an addition to the External Reference concept. This proved also to be something that another class member was keen to know about. The dilemma that was raised was how can we insert an image for the company logo, and have it embedded in the DWG and not have a path to the image in the External Reference dialogue box.
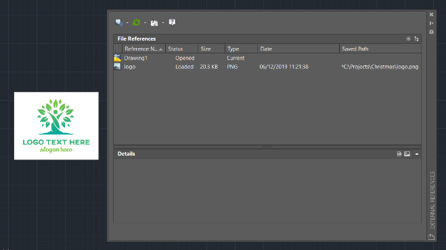
The reason to have the logo image embedded is to make sure the image stays with the drawing as it may be part of a border or title block.
Many of the class had not used this feature at all, even though they had worked on AutoCAD for some time.
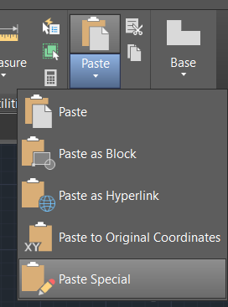
For this we need to use the Paste Special feature in AutoCAD.
Place an image logo onto the paper space layout.
Many of us have a paint programme on our workstation, this may be Photoshop or even just the standard Paint from windows.
Let’s open the logo image we want in AutoCAD, in Paint.
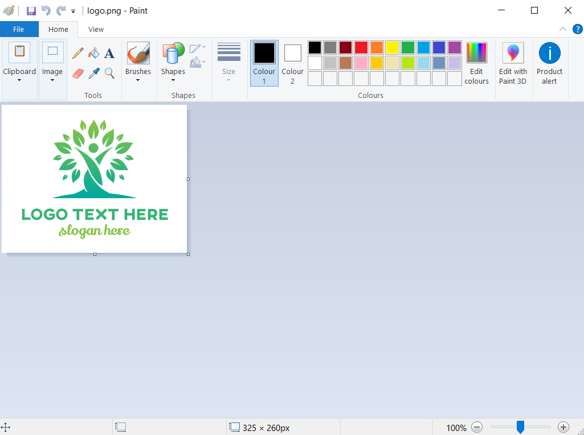
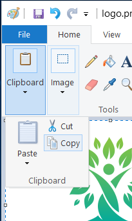
Use Ctrl – A to select the image then Ctrl – C to copy to the paste buffer. You can also click on Copy from the clipboard menu.
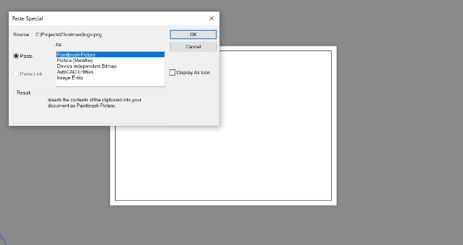
Now if we go back to AutoCAD, we use the Paste Special to place the image into our AutoCAD paper space.
Using the Paste special we see that we have a Paintbrush Picture available.
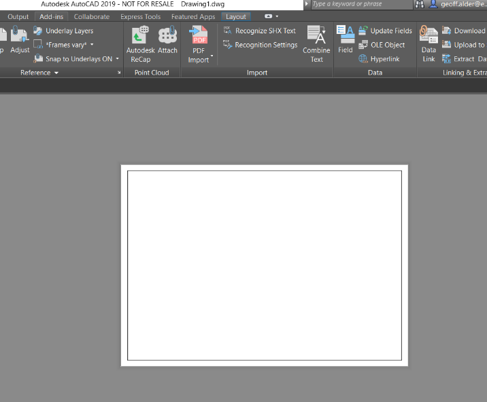
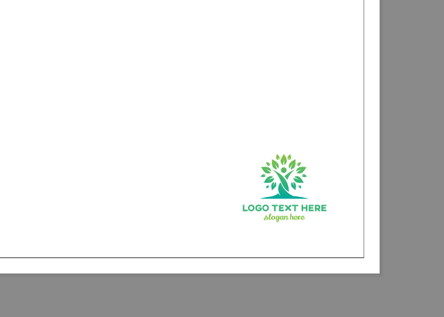
The image can now be placed on the paper space. In the paper space we will see a border around the image but as you see below the print preview does not show that border.
If you now look at the External Reference dialogue you see that there is no reference to the image.
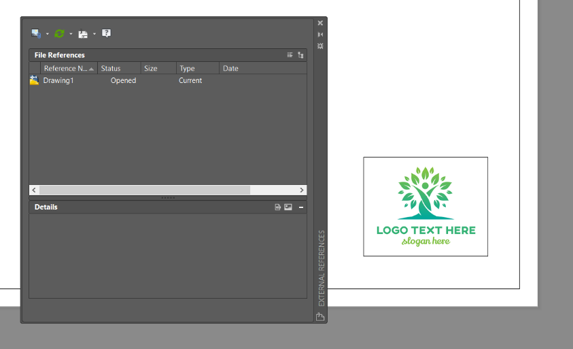
The image is embedded into the drawing file.
Just to add a note of caution. While in Paint, or your image manipulation software, ensure you make the image small so that the final file size is not inflated too much as this will impact all the drawings that have the image embedded.
This idea proved to be quite a little gem to finish off our AutoCAD training on External References.
The great thing about our training courses at Symetri are they’re quite often dynamic, which raise little gems like this that are not specific in the agenda.
Take a look at our full range of AutoCAD training courses here or contact us using the form below.


