
How AI Is Transforming Daily Work in Service Teams
Reduce downtime and improve service efficiency with AI-powered troubleshooting. Learn how service teams use ilean to solve problems faster and capture knowledge.

The thread sizes in Autodesk Inventor are drawn from a spreadsheet of standard thread types and sizes. If you are looking to edit the spreadsheet you can:
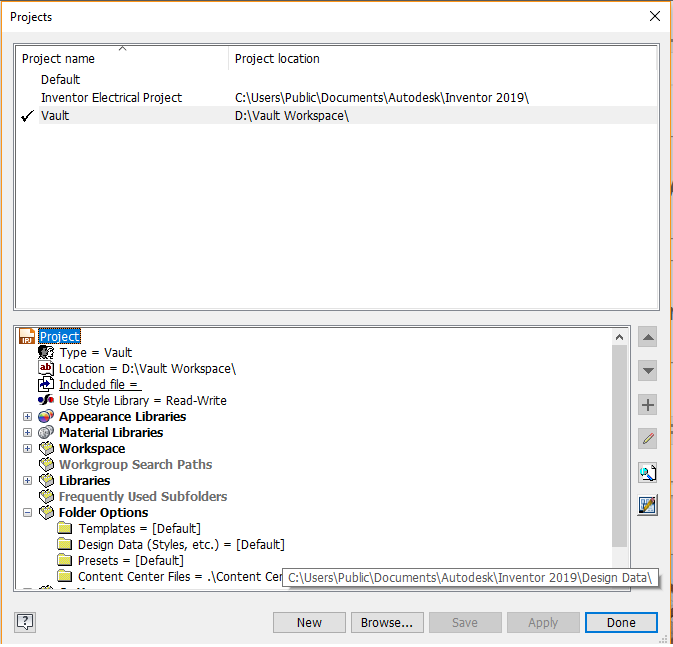
Initially, you will need to locate your design data folder. If you are unsure as to the whereabouts of this location, load up inventor and go to: Get Started - Projects - on the active project scroll down to Folder Options - hover over Design Data.
Once in this folder location, go to: XLS - en-us - then open Thread.xls.
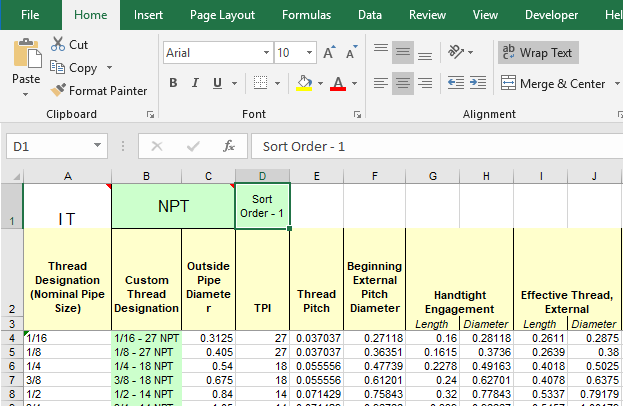
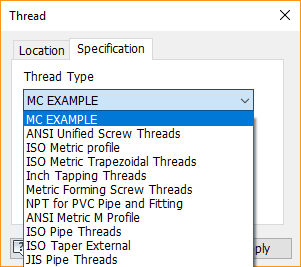
Reordering Thread Type List
If you are using one thread type and having to select down the list every time, you can change this so that the one you use most frequently is at the top of the list. In the thread.xls in cell D1 it has 'Sort Order-#'. To reorder the list, change the number so that your most commonly used is 1 ('Sort Order-1'), working upwards.
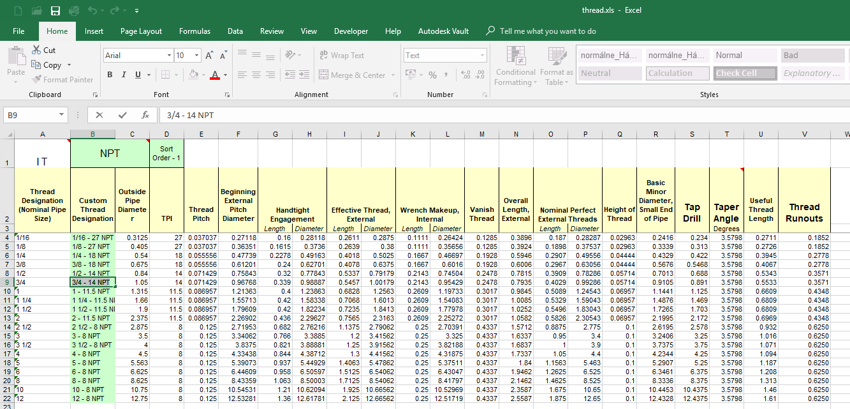
Changing the Thread Designation
The thread designation can be changed in the Thread.xls spreadsheet by changing them in the column 'Custom Thread Designation'. Changing the 'Thread designation' column can cause spreadsheet errors, so it is best to avoid this. A further error that can be caused is if the 'Thread Designation' column has the same name. The 'Custom Thread Designation' column should also have the same names.
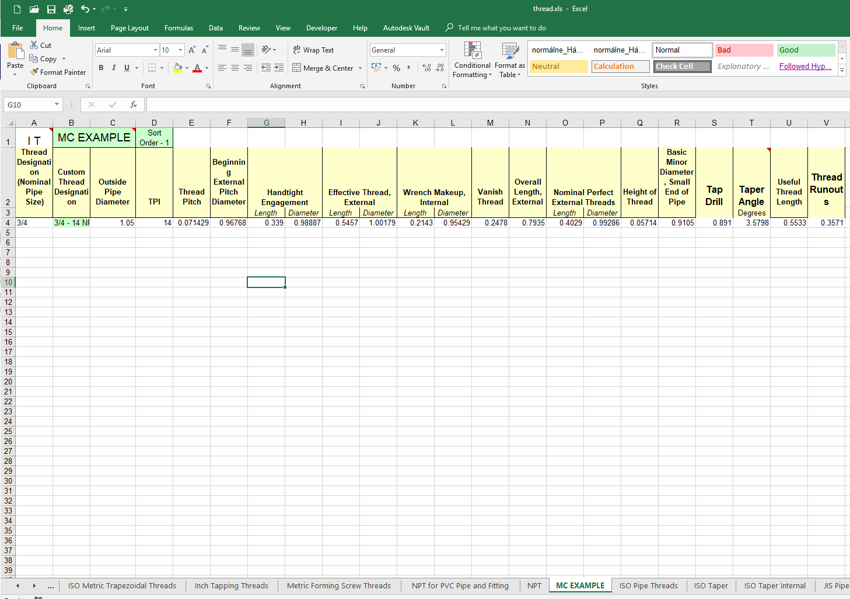
Adding Custom Sizes
Inventor comes with a pre-set list of thread sizes, but these sizes are not always the thread you need. To add sizes, scroll down to the bottom of the list (or insert a row) and add the parameters for the new thread in. You can also create a new custom thread type by copying a spreadsheet (either Parallel or Tapered) and deleting rows 4 down. You can then input your own values of thread, cell B1 will also need to be changed to the new thread type name otherwise it will throw up an error message.

Visit our product page for more information on Autodesk Inventor, www.symetri.co.uk/en/Products/Inventor
Reduce downtime and improve service efficiency with AI-powered troubleshooting. Learn how service teams use ilean to solve problems faster and capture knowledge.

Cybersecurity risks are not always caused by sophisticated attacks or major system failures. In many cases, risk builds quietly through everyday habits, overlooked processes, and limited visibility into where data is stored or how users interact with systems.

Learn how to reduce cyber risk through stronger security foundations. This month's bulletin covers home office security, legacy technology risks, vulnerability management, MFA, and cybersecurity best practices.