
On the new scene dialogue, select Templates and the first one on the top left is the Day and Night Skies template. Select this template to create a new scene.
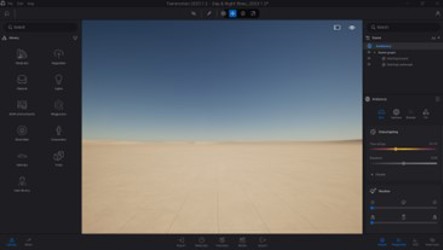
The new scene does not show any content apart from the Starting Ground and Starting Landscape.
Over in Revit, I have a simple project created. I have created a 3D view called Export to TM, this is so I can have just the geometry I want to export in the one view. Also, on that view, all unused categories are turned off in the visibility graphics.
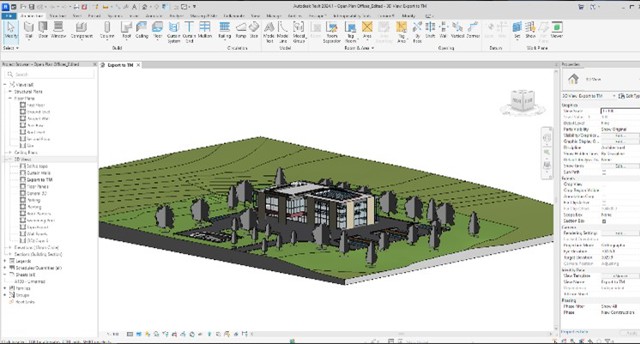
One important preparation of the Revit 3D model is to clean up any interpenetrating geometry, in particular coplanar surfaces. A common example of this is when internal walls are passing a floor slab and aligning to the top surface of the floor above. In Revit, the feature “attach top/base” will fix this. You will be quite surprised at how long the render can increase when the geometry is interpenetrating. A small amount can be okay but try to reduce as much as possible.
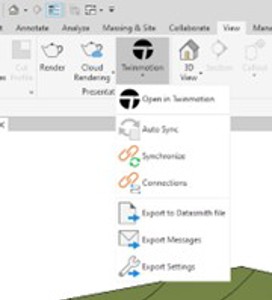
I use the export to Datasmith feature and create a file to import into Twinmotion. This allows you to directly open in Twinmotion.
Save the export to your hard drive and then go back into Twinmotion and click on the Import button shown along the bottom of the workspace.
Click on the + to access the Import dialogue box.

Select Geometry and click open, navigate to the place you saved the Datasmith files and select it on the option set to keep hierarchy. In this particular file I am importing, there are no lights so it’s not necessary to set light settings. I am creating a quick exterior for this blog so that we can see some of the day and night template results.
Below is the resulting Import:

Of course, we can now make changes, however, I would like to just offer a few simple changes that take just a few minutes to get good presentation renders from the default option in the Day Night Template.
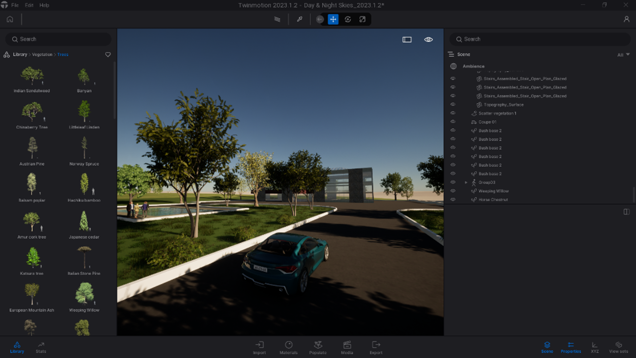
Firstly, I selected the groups of trees called Planting from the scene. With each type selected, I then right clicked on the trees in the scene and selected Replace Objects.
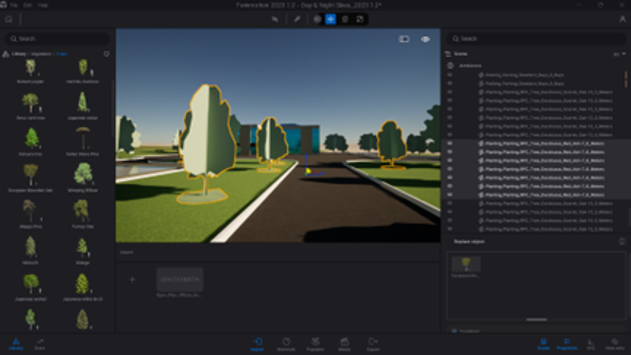
I then replaced all the trees with Twinmotion trees.
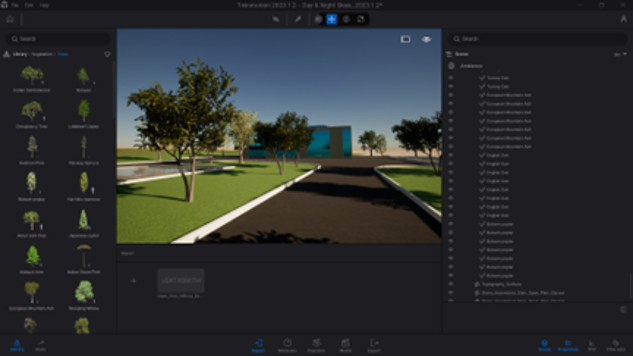
I have made a few changes to the model. I changed the glass to Twinmotion glass, added water material to the pool and grass to the landscape, then a few props like the car and addition bushes and people. I intentionally spent just a few moments to populate the scene and add materials to the Revit model.
If we now click on the media button at the bottom, we see several visual options showing Day and Night examples. Clicking on the refresh will refresh the image to the view you have.
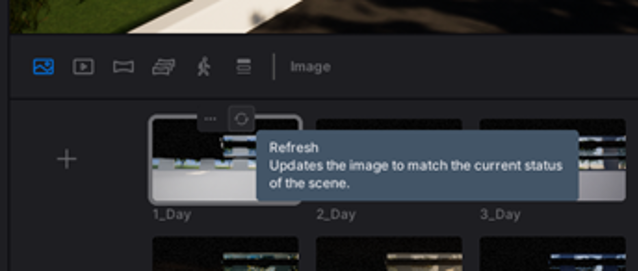
Click refresh on any of the media images to see the results.
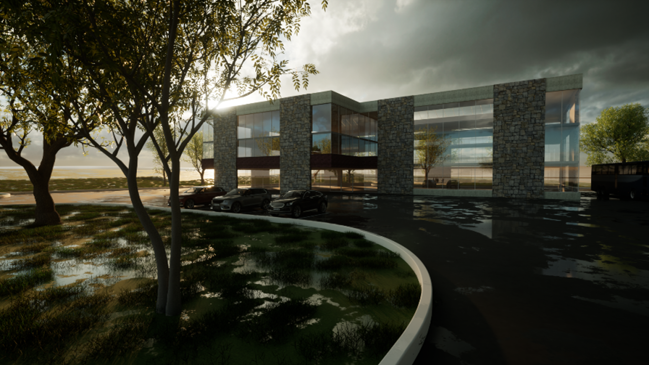
Below are three images that I have made straight from the template. The first is 2-Day and the second is 7-Day and the third is 22-Sunrise from the samples.
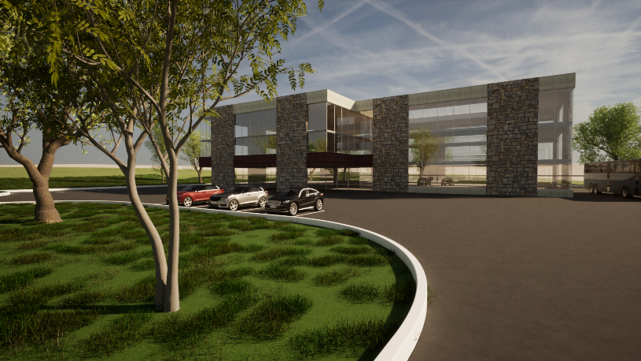
You can see that we can very quickly achieve some good presentations straight from a template within Twinmotion.
The time it took to create these images from import of a Revit model to the review of twenty-four images was about twenty minutes.

These images were rendered within Twinmotion using the Path Tracer. They are HD images 1920 x 1080 and took less than three minutes for all the images. I also rendered the 7-Day 7680 x 4320 image at 8K. This is the one with water puddles giving a lot of reflection and it took just six and a half minutes.
As a visualiser, I appreciate that it can take quite a long time to get suitable renders and certainly achieving a lower render time is the goal.
Seeing what can be achieved with Twinmotion and the Day Night template is exceptional in Revit. This exercise I have just done is a simple start giving a great image “out of the box” so to speak. Potential enhancement and real time render make it a lot easier to make conceptual renders quick and realistic from twenty-four Day or Night samples.
